Second Tutorial, Arrays and Classes.
The first tutorial covered basics notions of programming such as syntax, types, variables, control flow, scope and functions. The following examples address two more basic concept:Arrays and Classes, and look at a typical construct in generative design, as are agents or particles.
The Particle.
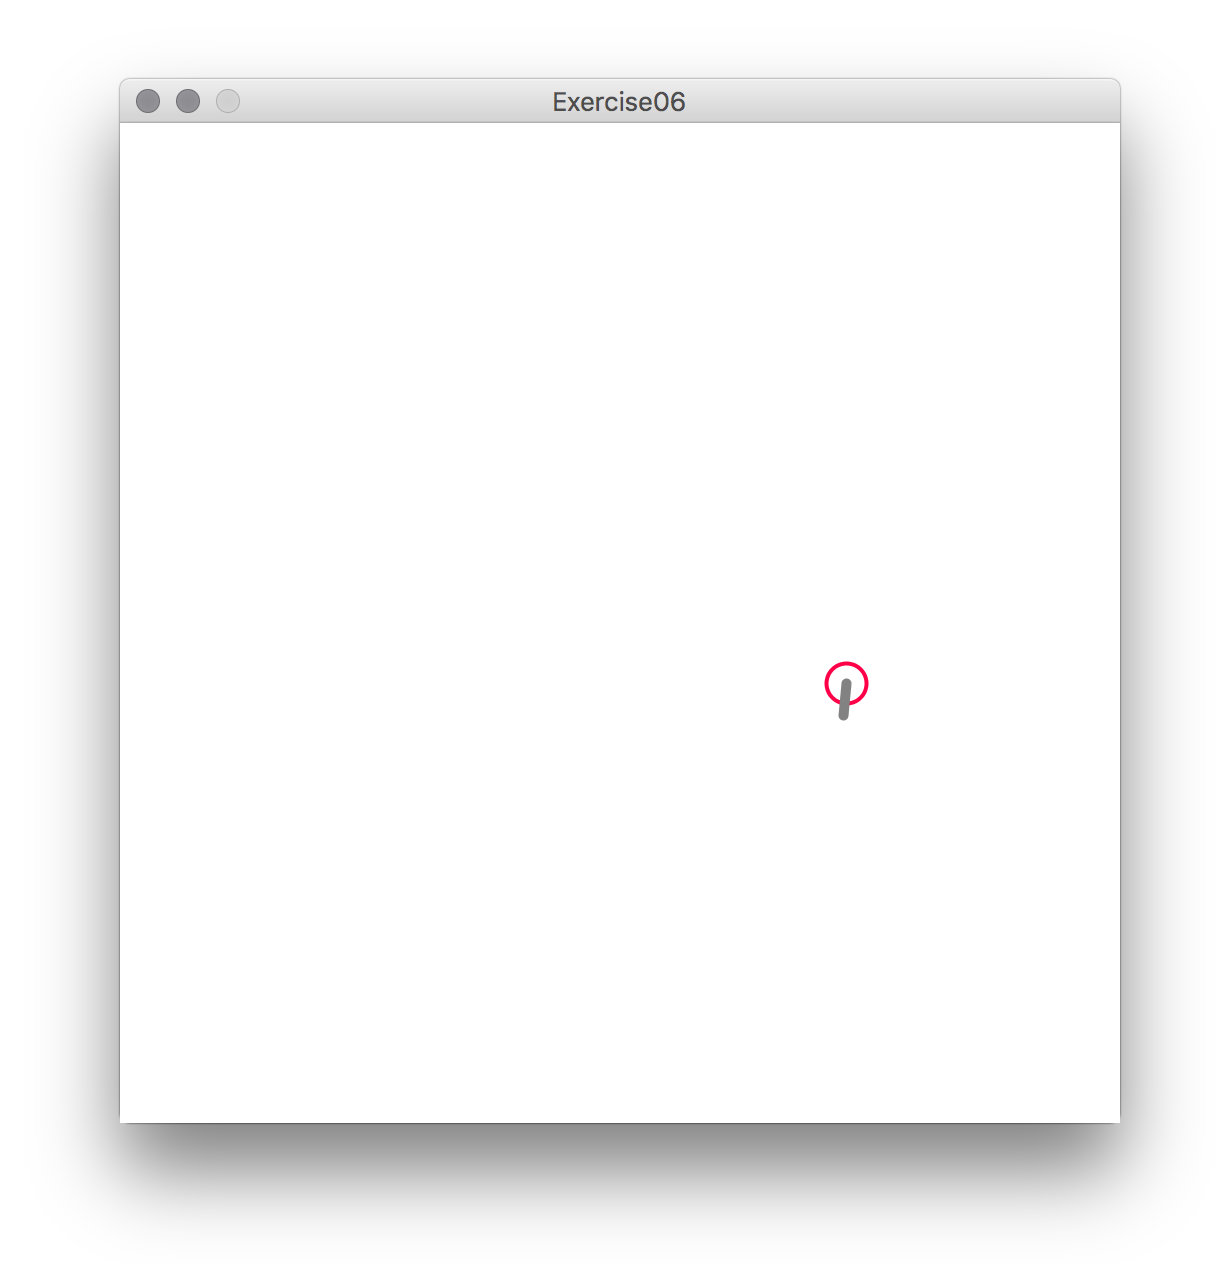
A particle represents a position in space and possibly other attributes such as velocity, direction or mass. At each iteration (for example at each call to draw()) the position of the particle will be updated. The particle here has two attributes: a position and a velocity, which make the particle a continuity in its movement. The best way of representing positions or velocities in any dimension is through vectors .The easiest way to do this in Processing is by using PVectors, which we will look at later. This example uses simple float variables to represent both the position and velocity of the particle. A vector is a geometric quantity having a magnitude and a direction. In this case, since it is a 2D vector, it will have an x and y component, defined through variables vx and vy.
float posx, posy; //position of particle
float vx, vy; //velocity vector

void setup(){

 size(500,500);
 pixelDensity(displayDensity());//for making it look good on retina displays
 noFill(); //we don't want them filled

 posx=random(0,width);
 posy=random(0,height);

 vx=random(-2,2);
 vy=random(-2,2);
}

void draw(){

 background(255); //draw the background, white

 //draw the circle
 strokeWeight(2);
 stroke(255,0,72);
 ellipse(posx, posy, 20,20);

 //draw the direction
 stroke(130); //grey
 //draw vx and vy, from posx and posy, a bit bigger
 //(otherwise it is hard to see)
 strokeWeight(5);
 line(posx,posy,posx+vx*5,posy+vy*5);

 //AND NOW WE UPDATE THE POSITION BY ADDING V TO THE POS
 posx += vx;
 posy += vy;

 //add some "jiggle" to the direction
 vx += random(-0.1,0.1);
 vy += random(-0.1,0.1);

 //this is a function to deal with the edge of the window
 bounceOnDisplayEdges();
}

//here we reset the velocity
void bounceOnDisplayEdges(){
 if(posx>width || posx<0){
 vx=-vx;
 }
 if(posy>height || posy<0){
 vy=-vy;
 }
}
Arrays.
It would be possible in the above example to add more particles by simply creating more variables for the position and velocity; but as the number of particles would increase, the code would become unmanageable. Arrays exist as the means to collect and manage many variables of the same type. The syntax in Processing to declare an array is as follows:
type[] nameOfArray;
for example,
float[] someNumbers;
the [] square brackets is used to declare an array of floats called “someNumbers”, that is going to store many values of type float. This is simply the declaration; to create the array we would need to do it using the following syntax:
someNumbers = new float[10];
Which would initialise “someNumbers” as an array of 10 floats. It is also possible, as with variables, to declare and create the array at the same time:
float[] someNumbers = new float[10];
Observe the use of the word new and of [10] to create an array and specify its size. What this does is actually allocate the memory necessary to store 10 float values, and thus it will be impossible to use an array before it has been initialised. Also, the size will be fixed, and it will be not possible to add new elements to the array (we won’t be able to add an 11th element to it…). Indexes of the elements are used to access the elements of the array; indexes start at 0 and go all the way to the size-1 of the array. It is also possible to retrieve the size of the array using .length in the array. These are some examples of the basic syntax of arrays:
int[] numbers = new int[7]; //an array of integers
//this is how we can access each element by their index
numbers[1]=10;
numbers[2]=5;
numbers[0]=3587;  //0 is the index of the first element...
numbers[6]=10068; //6 is the index of the last element, in this case.
//this won't work, (no element 7) comment it off to see the what happens
//numbers[7] = 6.5;

println("the third element is: " + numbers[2]);

//and this is how we can iterate through all elements of the array,
//using a for loop (one of the main uses of for loops, in fact)
for(int i=0; i< numbers.length; ++i){
  println("element "+ i + " is " + numbers[i]);
}
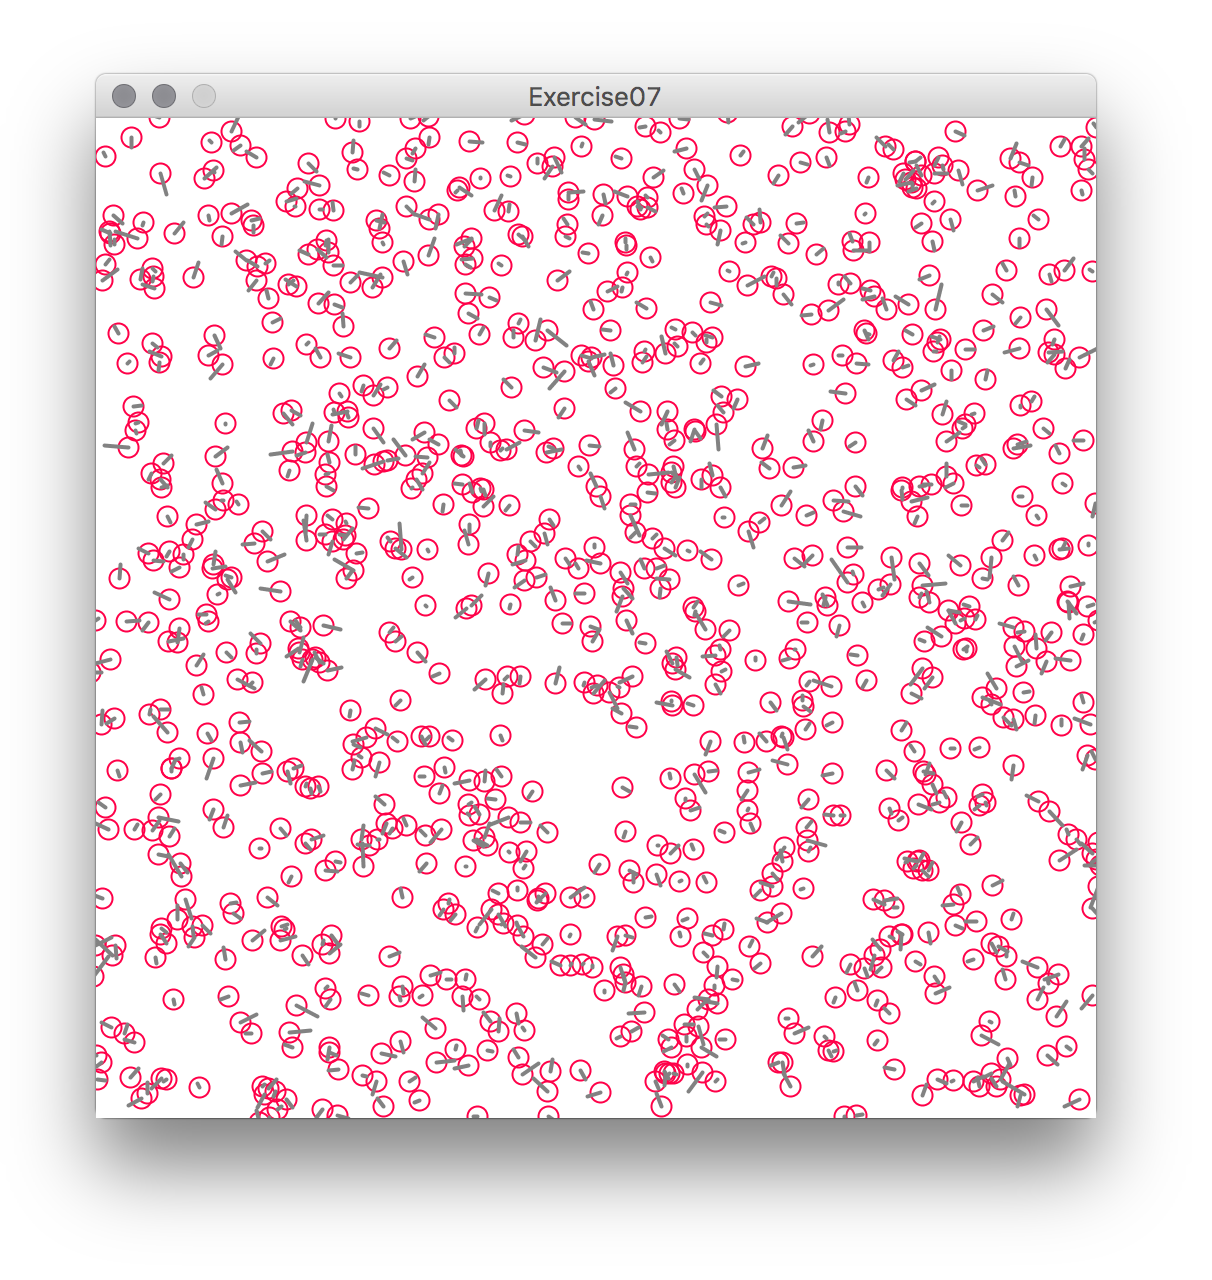
Now we can easily rewrite our agent/particle code using arrays, so there are many of them:
int nParticles=1000;
float[] posx, posy; //positions of particles, as arrays.
float[] vx, vy; //components of velocity vectors, as arrays.

void setup(){

 size(500,500);
 pixelDensity(displayDensity());
 noFill();

 // the arrays are created here:
 posx=new float[nParticles];
 posy=new float[nParticles];
 vx=new float[nParticles];
 vy=new float[nParticles];

 //initialise all their values
 for(int i=0;i<nParticles;++i){ //nParticles and the .length will be the same
 posx[i]=random(0,width);
 posy[i]=random(0,height);
 vx[i]=random(-1,1);
 vy[i]=random(-1,1);
 }
}

void draw(){

 background(255); //draw the background, white

 //draw the circles
 strokeWeight(1);
 stroke(255,0,72);
 for(int i=0;i<nParticles;++i){
   ellipse(posx[i], posy[i], 10,10);
 }

 //draw all the directions
 strokeWeight(2);
 stroke(130); //grey
 for(int i=0;i<nParticles;++i){
   line(posx[i],posy[i],posx[i]+vx[i]*2,posy[i]+vy[i]*2);
 }

 //Update positions
 for(int i=0;i<nParticles;++i){
   posx[i] += vx[i];
   posy[i] += vy[i];
 }

 for(int i=0;i<nParticles;++i){
   bounceOnDisplayEdges(i);
 }

 //the jiggle:
 for(int i=0;i<nParticles;++i){
   vx[i]+=random(-0.1,0.1);
   vy[i]+=random(-0.1,0.1);
 }
}

//modified function, so now it takes the index of the position...
void bounceOnDisplayEdges(int index){
 if(posx[index]>width || posx[index]<0){
   vx[index]=-vx[index];
 }
 if(posy[index]>height || posy[index]<0){
   vy[index]=-vy[index];
 }
}
Objects and Classes.
An important concept in processing, and indispensable in Java, are classes. Classes are the basis of what it is known as Object Oriented Programming (OOP). The Class mechanism can be described as a way of conceptualising programs, in which data (like that represented through variables or arrays) and the functions that manipulate it, are linked together. This makes situations easier to model as programs, and programs easier to understand. OOP is too complex to explain here in detail, the link above give a more in depth introduction to anyone interested. However, since Processing uses often classes, and classes are also useful in writing clearer and more reusable code, a basic introduction to their principles and syntax should quite useful.
It is for example possible to conceptualise the particle example above through a class. Rather than variables and functions spread through the code that describe the states (position, velocity) and functions that modify the behaviour of the particle by manipulating those variables,a class allows to put all relevant data and functions together, following the basic syntax for the definition of a class:
class nameOfTheClass{
//variables of the class…(called fields)
//functions of the class (called methods)
}
It consist of the keyword class, followed by its name, and curly brackets {} defining the body of the class, in which we can define variables and functions. These variables can be of any type (they can also be other classes, for example), and are in Processing and Java referred to as its “fields”, and functions pertaining the class, known as its “methods”. The definition or declaration of a class is only a sort of template, a description of an eventual “variable” of the class. An instantiation of the class into a variable-like entity is called an object, and it is declared similarly to any other variable, with its type first (the name of our class) and the name we want to give to that object. As with arrays, we use the word new to create the object. Its fields and methods can be accessed through the “.” (dot) operator, as in the following code:
class Particle{
  //these are its fields
  float x,y,vx,vy;
  //fields can also be initialised
  float maxSpeed=5;
  //this method is called a constructor, and it is called
  //when we create an instance of the class.
  Particle(){
   x=random(0,width);
   y=random(0,height);
   vx=random(-1,1);
   vy=random(-1,1);
  }
  //these are its methods
  void bounceOnScreenEdges(){
   if(x>width || x<0){
     vx=-vx;
   }
   if(y>height || y<0){
     vy=-vy;
   }
 }
 void updatePosition(){
   x += vx;
   y += vy;
 }
 void wiggle(){
   vx+=random(-0.2,0.2);
   vy+=random(-0.2,0.2);
 }
 //this is a method for drawing each particle
 void draw(){
   //draw the circle
   strokeWeight(1.5);
   stroke(255,0,72);
   ellipse(x, y, 10,10);
   //draw the heading
   stroke(130);
   strokeWeight(2.5);
   line(x,y,x+vx*4,y+vy*4);
 }
} //this is the end of the definition/declaration of the Particle class


//declaration of our Particle
Particle myParticle;

void setup(){
 size(500,500);
 pixelDensity(displayDensity());
 noFill(); //we don't want them filled
 myParticle=new Particle();

}

void draw(){
 background(255); //draw the background, white
 myParticle.draw();
 myParticle.bounceOnScreenEdges();
 myParticle.wiggle();
 myParticle.updatePosition();
}
It is also possible to make arrays of objects as of any other type. The objects of the array need to be initialised, by iterating through the array and using the “new” operator (which, among other things, will call the constructor). For example, if we declare an array of Particle called myParticles, with:
Particle[] myParticles;
we need to initialise it like this:
myParticles=new Particle[1000];
for(int i=0;i<myParticles.length; ++i){
  myParticles[i]=new Particle();
}
So now, can you re-write the array of particle to use objects of the class Particle?
Values and References.
A Final important notion in Processing, and also present in many programming languages, is that of references. In Processing and Java all basic types (bool, char, int, float…) are always passed by value. What does this mean? it means that every time that we assign a variable from another, or pass a value to a function, the value of this variable is copied. If you write something like this for any of the basic types:
int a=10;
int b;
b=a;
b++;
println("a: "+ a);
println("b: "+b);
The results will be:
a: 10
b: 11
As you see we have declared a variable “a” of type int, and we have set it to 10. We have created another variable “b” of type int, and we have set it to “a”, which means that it has copied the value stored in “a”, into “b”. If we increase “b” by one (through the ++ operator), it will change the value of “b”, but not of “a”. This seems obvious. But now lets do this instead:
//here we make a test class, called Foo
class Foo{
  int val;
}

Foo a=new Foo();
a.val=10;

Foo b;
b=a;

b.val++;

println("a: "+ a.val);
println("b: "+ b.val);
The results will instead be:
a: 11
b: 11
This is strange, isn’t it? Actually any variable that we declare through “new”, such as objects or arrays, will have the same behaviour. What it is happening is that when we say “b=a;” we are not saying “copy the values of variable ‘a’ into variable ‘b’ “, but rather make “b” refer to “a”. “a” and “b” are actually the same object, but with two different names. This may sound problematic, but it is actually really useful. Here is an example:
void setup(){
  float[] numbers=new float[5];
  printArray(numbers);
  randomiseArray(numbers, 10,20);
  printArray(numbers);
}

void randomiseArray(float[] theArray, float min, float max){
  for(int i=0;i<theArray.length; ++i){
    theArray[i]=random(min, max);
  }
}

void printArray(float[] theArray){
  for(int i=0;i<theArray.length; ++i){
    println("element " + i +" is: "+ theArray[i]);
  }
  println();
}
The result of this is:
element 0 is: 0.0
element 1 is: 0.0
element 2 is: 0.0
element 3 is: 0.0
element 4 is: 0.0

element 0 is: 14.593256
element 1 is: 13.864506
element 2 is: 15.577421
element 3 is: 19.703238
element 4 is: 14.547775
Instead of copying the whole array when we pass “numbers” to “randomiseArray()” we copy a reference to it that we can modify. This allows to pass arrays and objects to functions and alter their values there. The “float[] theArray” parameter in “randomiseArray()” is then a reference to “numbers”, and not a copy. As with many other concepts, these will become more clear as they are used.
A swarm algorithm.
A final example will put together all these ideas and will also introduce the concepts of self-organisation and emergence. Both related concepts have been quite prominent in approaches to the use of computers in design, as they allow to describe forms not shaped through geometry, but as the formation processes resulting from the interaction of simple programmed entities. Emergence allows then to consider forms that are hard to comprehend and produce by traditional design means, or even traditional mathematical calculus.
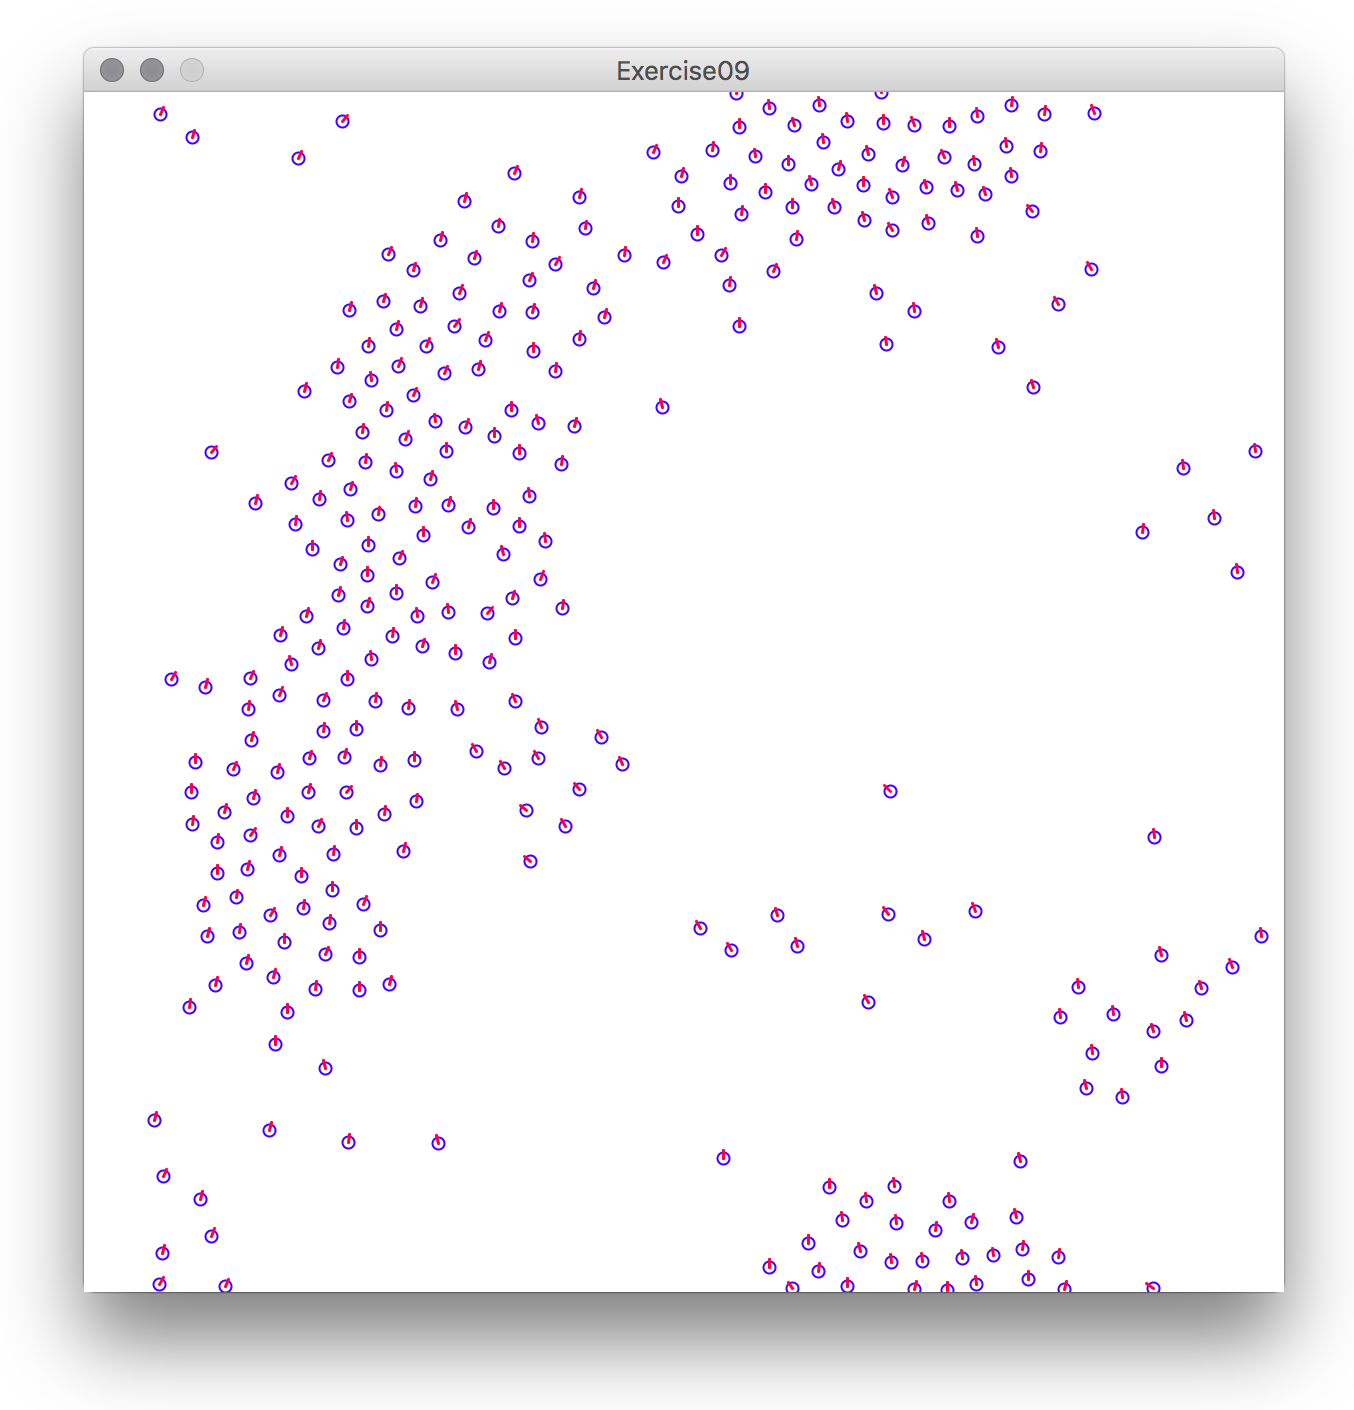
The program considered here is a classic example of self organisation: a swarm. The algorithm is based on the one first proposed by Craig Reynolds, called Boids. Reynolds’ algorithm is paradigmatic of the self-organisation: the emergence of global patterns and forms from the simple interactions of lower level components. The swarming of birds or schooling of fish, rather than explainable by some top-down rules, can be described as the result of the bottom-up coordination of the individual behaviour of each fish, bird, or agent. In the case of Boids, swarming is the outcome of 3 simple rules that each particle follows:
- Alignment: try to go on the same direction as your closest neighbours.
- Cohesion: try to go towards the average position of your neighbours.
- Separation: Avoid colliding and crowding with your closest neighbours.
In the code below, this is implemented in the function “swarm()”. The code of particles has been modified (there is no “wiggle()”); rather than bouncing against the limits of the window, a function called “wrapAroundUniverse()” makes the particles appearing at one end of the screen to appear at the other end. Also, rather than floats, it uses PVector to make all calculations of distances and directions easier.
class Particle{

  //PVector is also a class... so this is an
  //example of classes inside classes.

  PVector position;
  PVector vel;
  PVector futureVel;

  //this is the constructor of the Particle class
  //called when created through "new"
  Particle(){
    position= new PVector(random(0,width),random(0,height));
    //rather than using new, PVector also allows to do this
    //to make a random vector:
    vel=PVector.random2D();
    futureVel=PVector.random2D();
  }

  void wrappAroundUniverse(){

    if(position.x >= width){
      position.x -= width;
    }
    else if (position.x<0){
      position.x = width + position.x; //x is negative...
    }

    if(position.y >= height){
      position.y -= height;
    }
    else if (position.y<0){
      position.y = height + position.y; //y is negative...
    }
 }

 void update(){
   //update position.
   position.add(vel);
   //and velocity, coping the new to the old
   vel=futureVel.copy();
   vel.normalize(); //by normalising we make the length of the vector 1
   wrappAroundUniverse();
 }

 void draw(){
   //draw the circle
   strokeWeight(1);
   stroke(70,0,255);
   ellipse(position.x, position.y, 6,6);
   //draw the heading
   strokeWeight(1.5);
   stroke(255,0,72);
   line(position.x, //sometime it is clearer to use many lines
   position.y, //for one statement
   position.x+vel.x*4,
   position.y+vel.y*4);
 }

} //this is the end of the Particle class

//declaration of an array of particles
Particle[] particles;

void setup(){
 size(600,600);
 pixelDensity(displayDensity());
 noFill(); //we don't want them filled

 //create the array and "populate" it with particles
 particles=new Particle[300];

 for(int i=0;i<particles.length; ++i){
   particles[i]=new Particle();
 }
}

void draw(){
 background(255); //draw the background, white

 //we need first to calculate all the future velocities
 //through the swarm() function, for all particles.
 //Also, for loops with arrays can be written in a simpler way
 //(except when we need to use "new" to intialise, as above!)
 for(Particle part: particles){
   swarm(part);
 }

 //and then update them and the position
 for(Particle part: particles){
   part.update();
   part.draw();
 }
}

//this is a simplified Swarming behaviour based on the original
//Boids by Craig Reynolds: http://www.red3d.com/cwr/boids/
void swarm(Particle me){
  //these are the values we need to calculate, according to the algrithm described by
  //Craig Reynolds
  PVector averageVel=new PVector();
  PVector averagePos=new PVector();
  PVector avoidCollision=new PVector();

  int numberOfNeighbours=0;
  int tooCloseNeighbours=0;

  //for particle "me" we go through all the particles
  for(Particle other: particles){

    float distance=me.position.dist(other.position);
    float minDistance=100;

    //if "other" does not refer to the same particle as me (it is not me)
    //and it is close enough (distance<minDistance)...

    if(other != me && distance<minDistance){

      //now we know that "other" is not "me" and it is close enough...
      numberOfNeighbours++;
      averageVel.add(other.vel);
      averagePos.add(other.position);

      float avoidDistance=15;
      if(distance<avoidDistance){ //if it is too close
        tooCloseNeighbours++;
        avoidCollision.add(other.position);
      }
    }
  }//this is the end of the for loop

 //now we have gone through all the particles, so , if
 //"me" had any neighbours, we add their effect (according to
 //the flocking algorithm)
 if( numberOfNeighbours>0){

   averageVel.div(numberOfNeighbours);
   averagePos.div(numberOfNeighbours);

   //we also need to calculate averagePos relative to me,
   //so it can be added as a vector:
   averagePos.sub(me.position);

   if(tooCloseNeighbours>0){
     avoidCollision.div(tooCloseNeighbours);
     avoidCollision.sub(me.position);
   }

   //change my velocity (in the future). We use some weighting values...
   float vW=0.01, posW=0.0001, repelW=-0.02;

   averageVel.mult(vW);
   averagePos.mult(posW);
   avoidCollision.mult(repelW);

   me.futureVel = me.vel;
   me.futureVel.add(averageVel);//try to align with the average direction as the neighbours
   me.futureVel.add(averagePos);//try to go to the average position of the neighbours
   me.futureVel.add(avoidCollision); //avoid collision (it will be 0 if there were no close neighbours)

  }
}

Since code is getting a bit long now, you can download the Processing project from: SwarmCode
This tutorial has covered quite a few concepts and a new algorithm. Try to understand the code; when you don’t know what something does, or you have any doubts about if something may be written differently, or if it is at all allowed, simply change the code and see what happens, it is the most effective way of understanding the concepts. You can for example compare this code with the implementation of flocking here. Also here is a PVector tutorial. Other tutorials are also available at the Processing website,under tutorials. For example there is an extensive one about Object Oriented Programming, among other things.
Task:
- Study carefully the code for the swarm and try to understand it in detail. Change some of its parts and see what happens.
- Look for code and examples of self-organisation or related concepts and research them in processing. There are a number of useful examples already accessible through the processing IDE, in “File->Examples->Topics” or here. Modify some of this code and post it on the blog.

